Connecting a Box account
This step-by-step guide explains how to connect a Box account to your Dialpad knowledgebase.
Create a new Box application (Step 1/3)
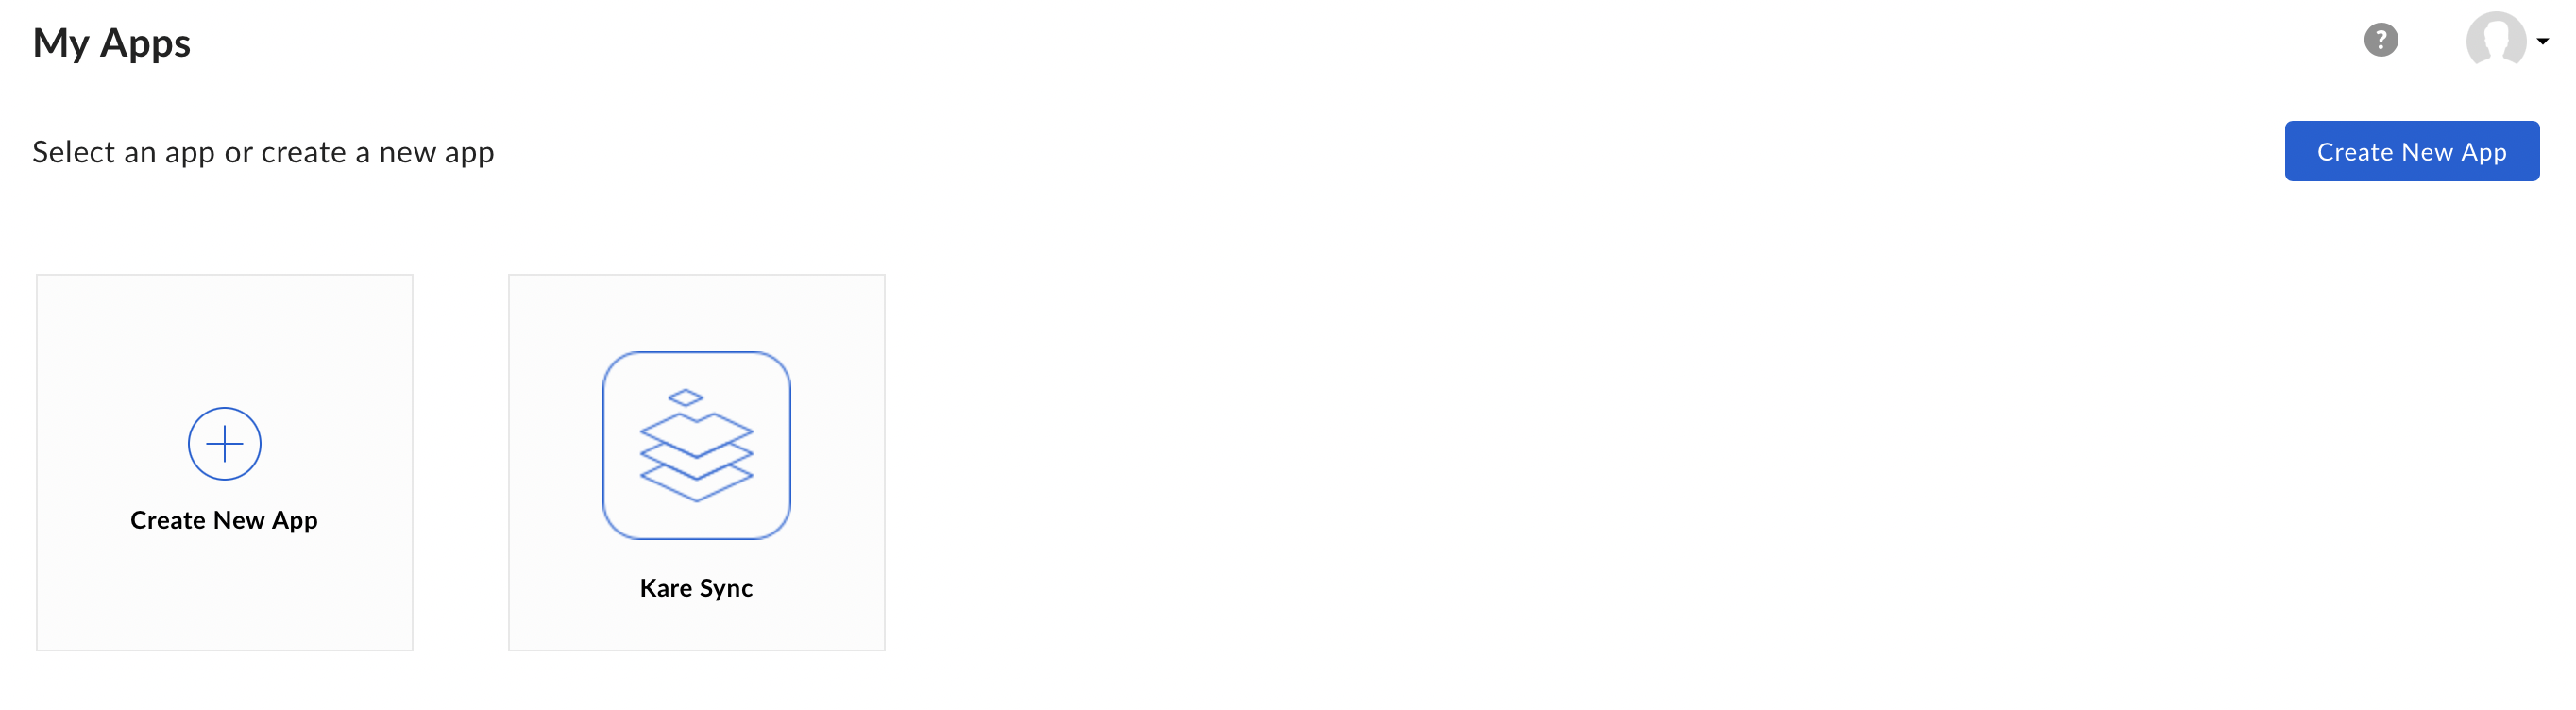
Navigate to your Box developer console and create a new client application by clicking on the Create New App button.
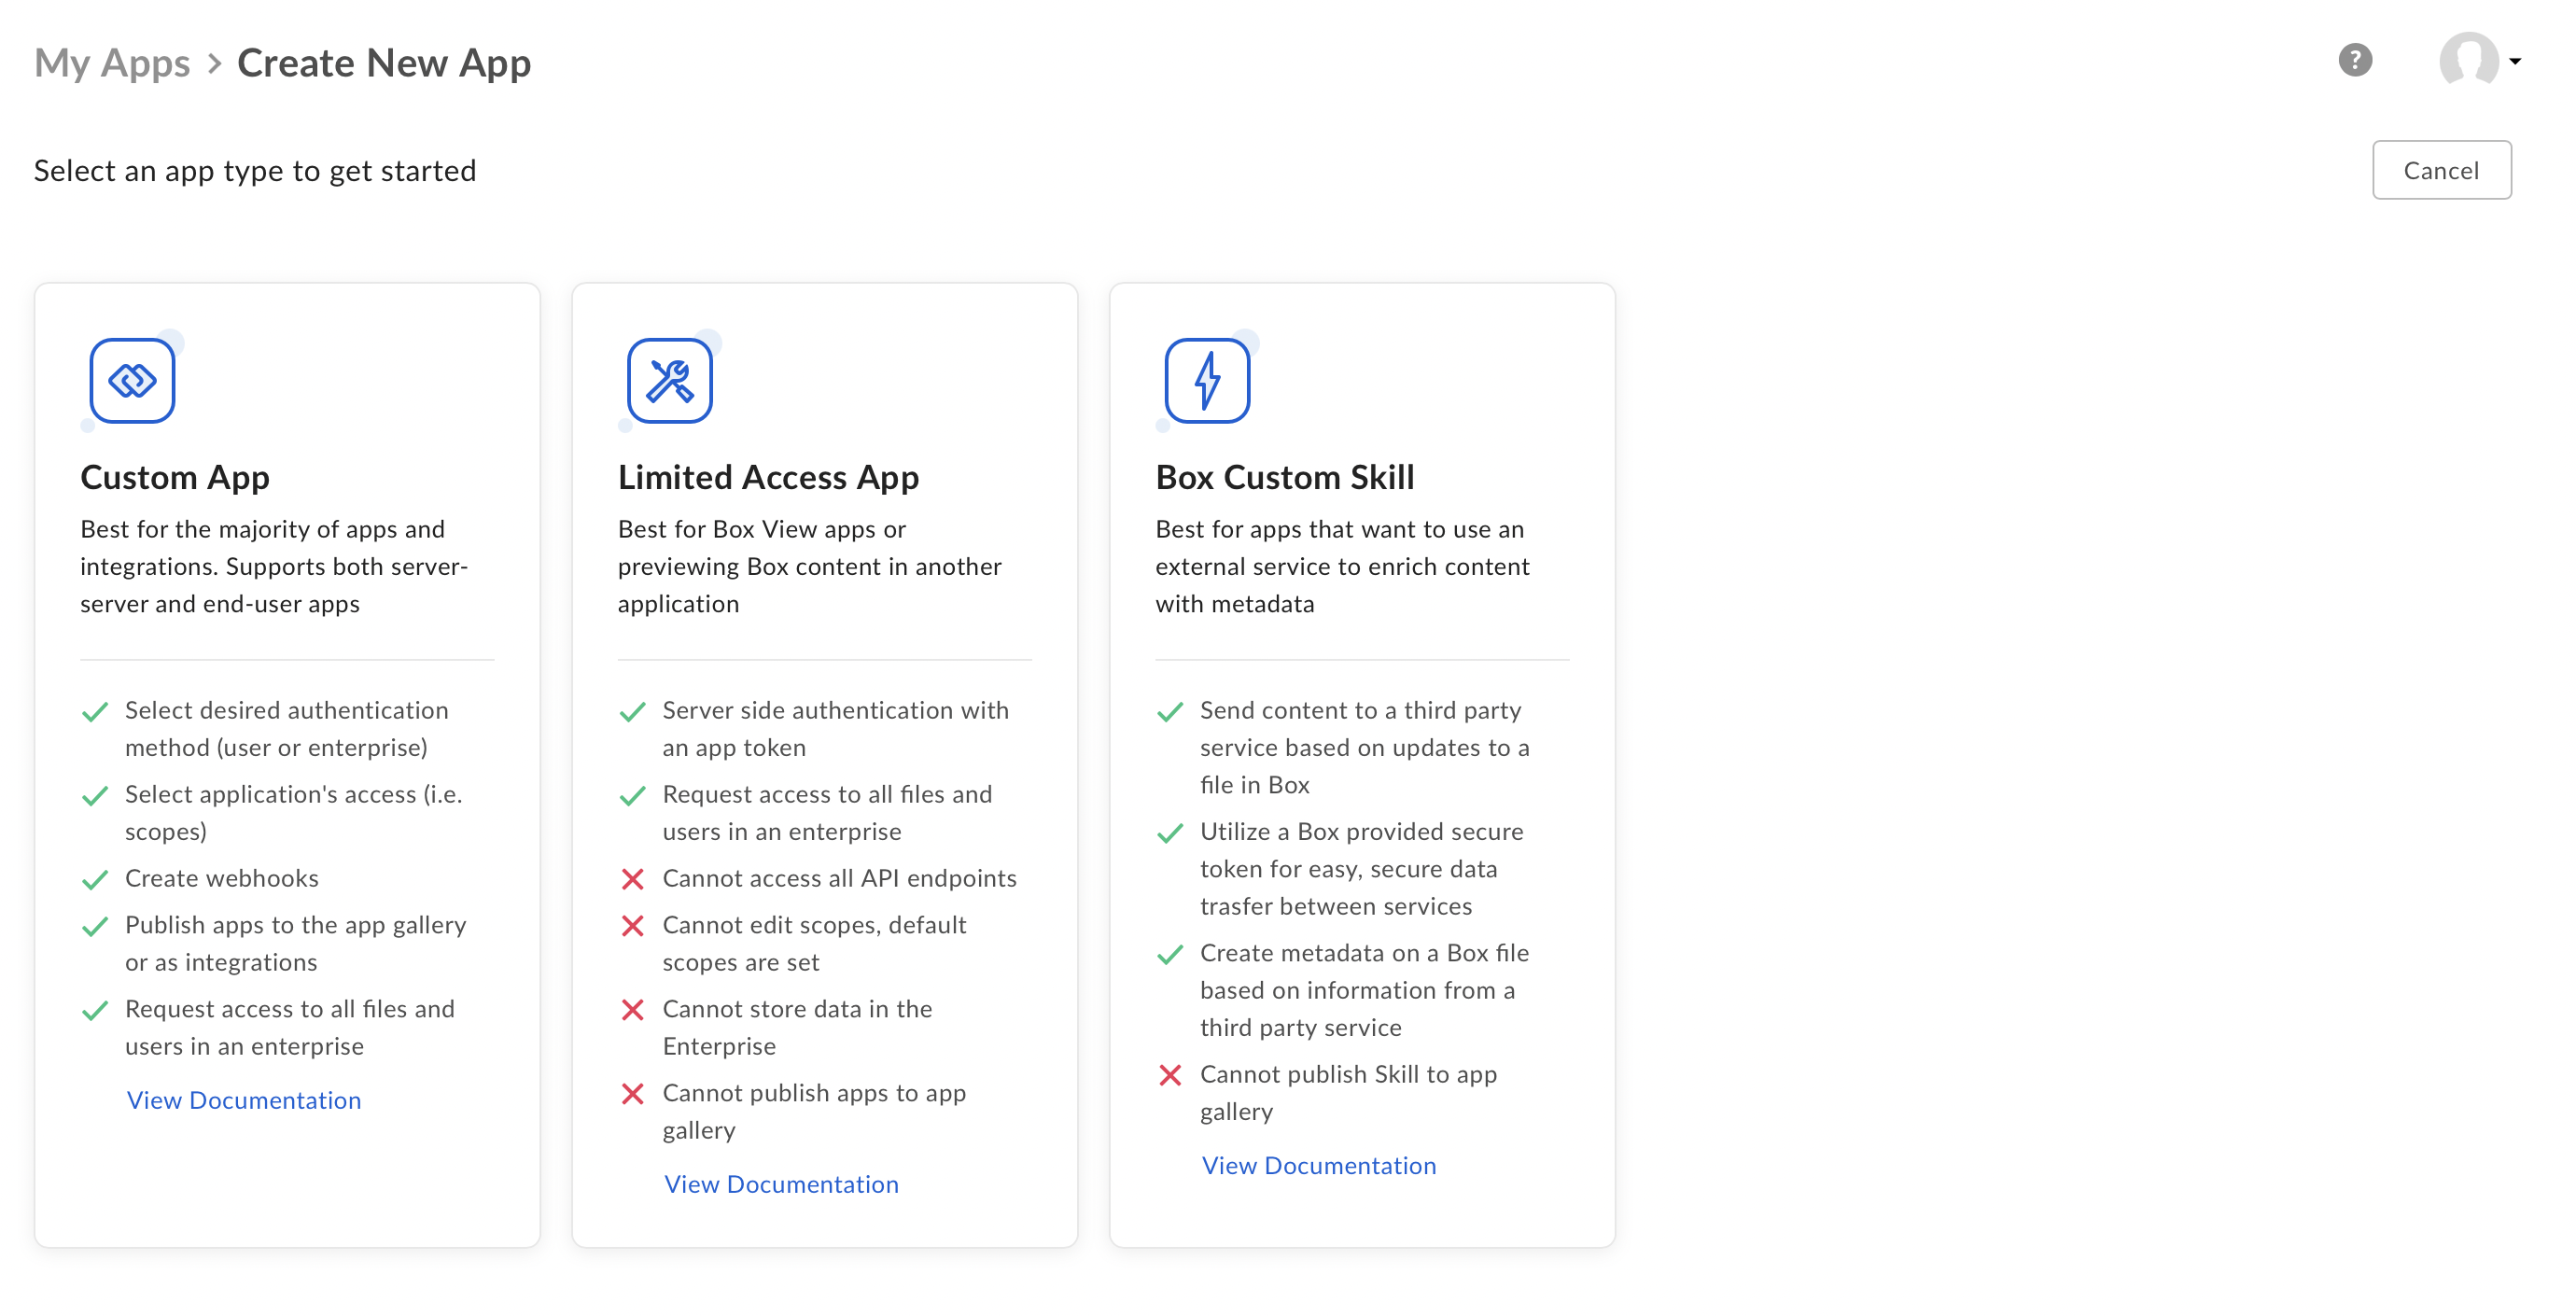
Then choose Custom App from the list of possible applications. Custom applications are the most common and the most powerful.
Finally, select OAuth 2.0 as authentication method and name your application in a memorable way, for instance DIALPAD sync.
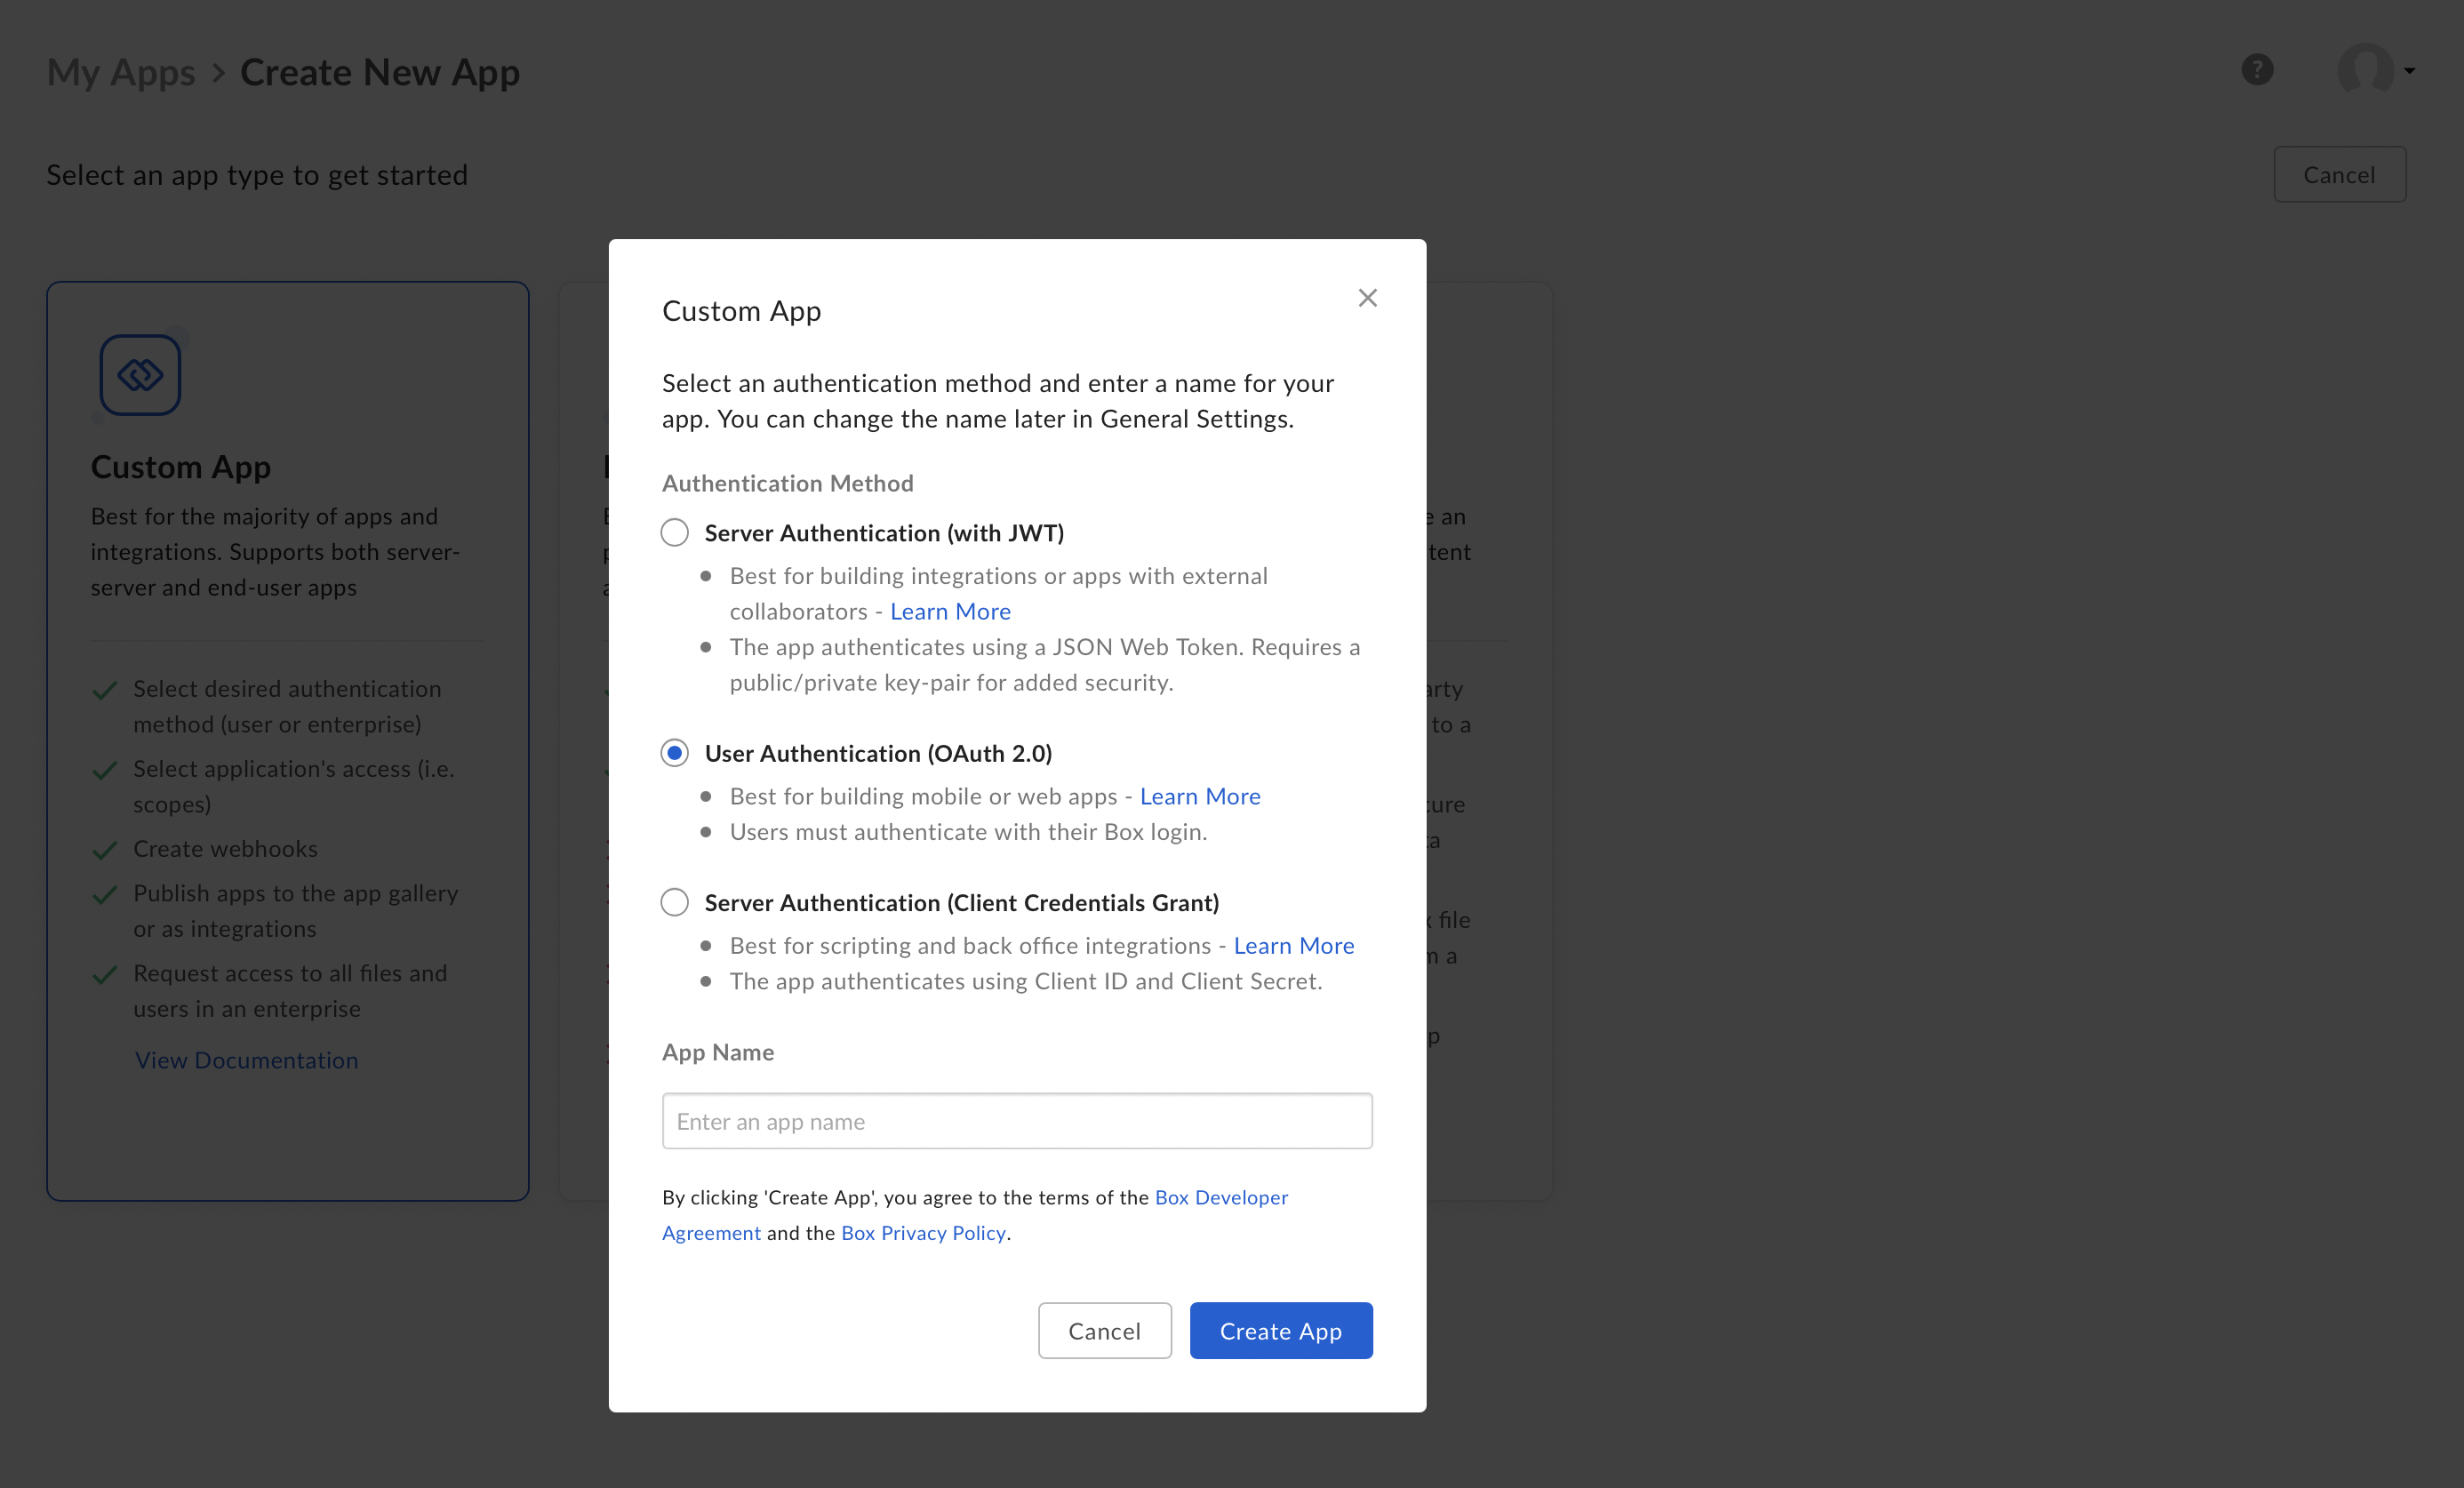
Congratulations, you have just created a Box app!
Configure your new Box application (Step 2/3)
Open your Box application and navigate to the Configuration tab. If the App was created correctly you should see OAuth 2.0 as authentication method.
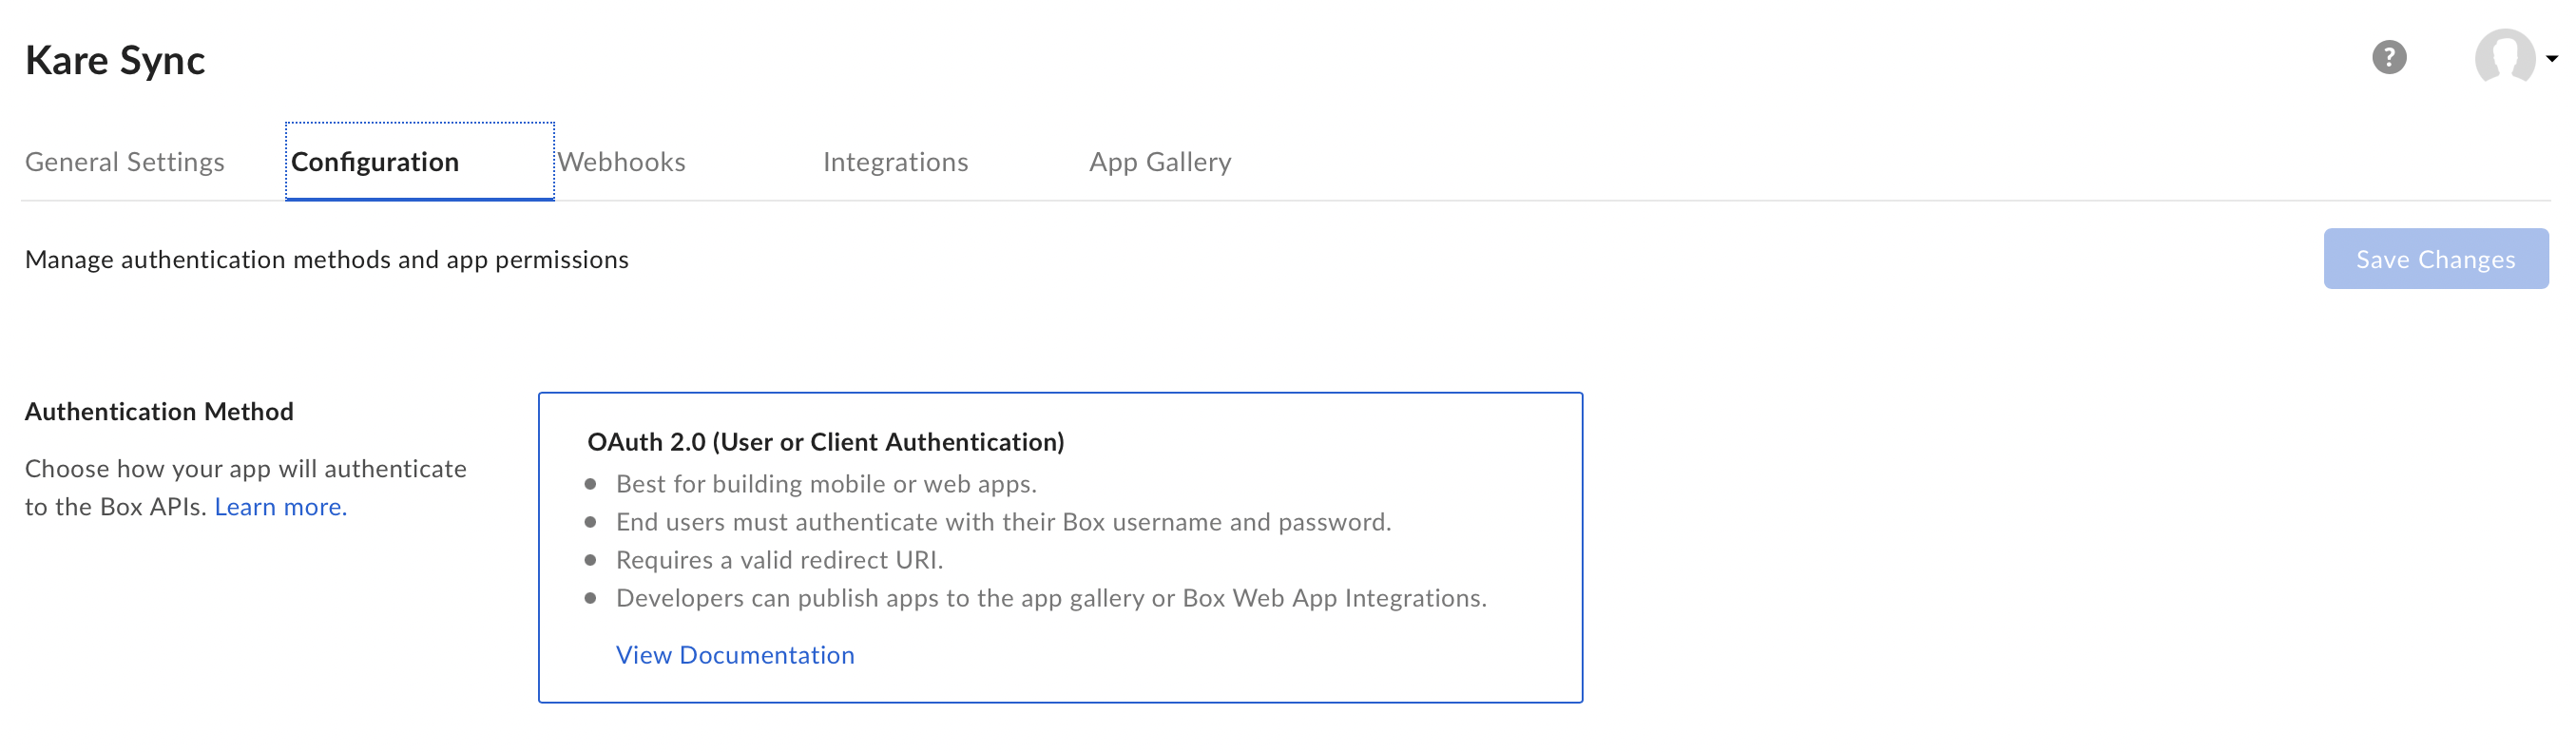
Now you will need the URL of your DX Console. You can copy that from the Box configuration URL that is located in the form and paste it in Oauth 2.0 Redirect URI field.

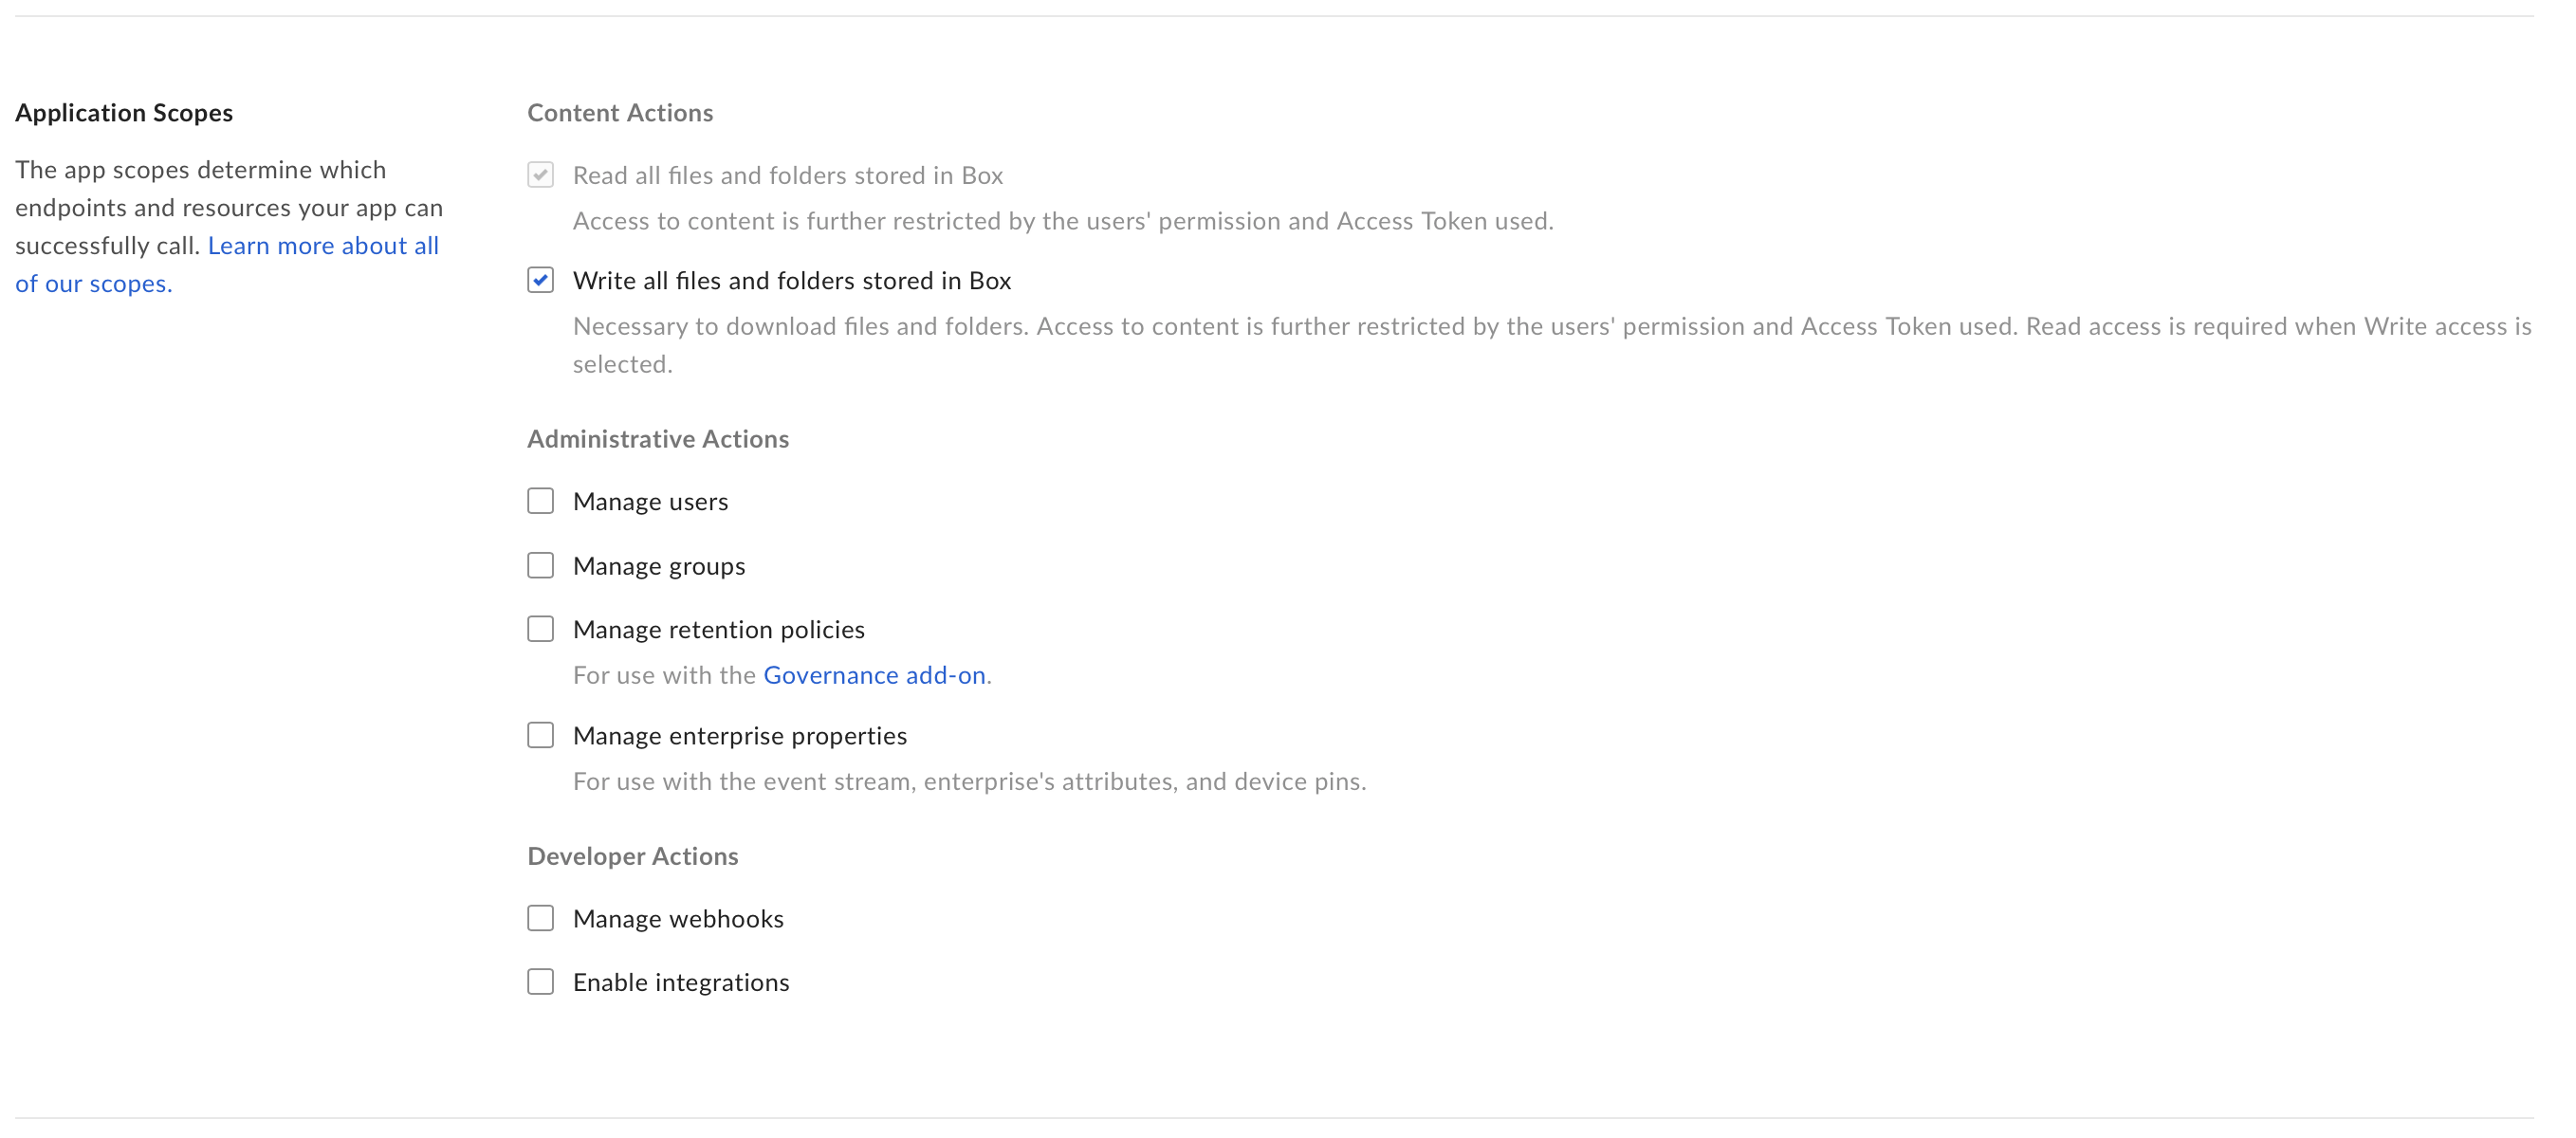
In Application Scopes selects Write all files and folders stored in Box. Dialpad needs that permission to share your files if needed.
Finally, paste the Box configuration URL in and CORS Domains field (the same URL previously pasted in Oauth 2.0 Redirect URI).

Don’t forget to save!
In the middle of the page there should be a box indicating Client ID and Client Secret, you will need them in the next step.
Authorize your Dialpad account (Step 3/3)
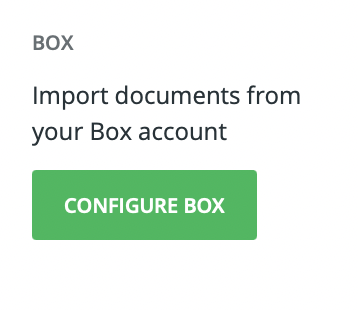
Open the DX Console and navigate to Data Import tab of the settings page. Only administrators can access it. Once you are there click on Configure Box.
From this settings page you can now configure Dialpad to import and use content from Box. It is really important that you configure it properly because this will configure what Dialpad will do with your files.

Let’s explain the various parameters:
- Client ID and Client Secret are the OAuth 2.0 credentials that Dialpad will use to connect. You can find them in the Configuration page od the Box App that we just created. A user will need to authorize the connection once you press on the Connect Box button at the bottom of the form.
- Folder ID is the ID of the Box folder that Dialpad will import. It’s the long number that appears in the URL bar of your browser when you are navigating a Box folder. If you leave
0Dialpad will import everything in your Box account, normally this is not what you will want to do. - Allow to download files configure Dialpad to allow users to download files or to just let them access them online through Box.
- Allow public access to files by default only Box users in your organization will have access to Box files. Click this option if you want Dialpad to share them publicly.
- Import web links configure Dialpad to import all web links which are bookmarked in your Box account.
- Custom user agent when downloading a web page Dialpad introduces itself to the website as
KareBot. If you need you can change this. - labels configure Dialpad to label all resources imported from Box with the following labels. They must be comma separated like
tutorial,customer-engagement,lead-gen.
Once you press connect Box will handle the authentication process and, if the process is successful, your files will appear in Dialpad.